


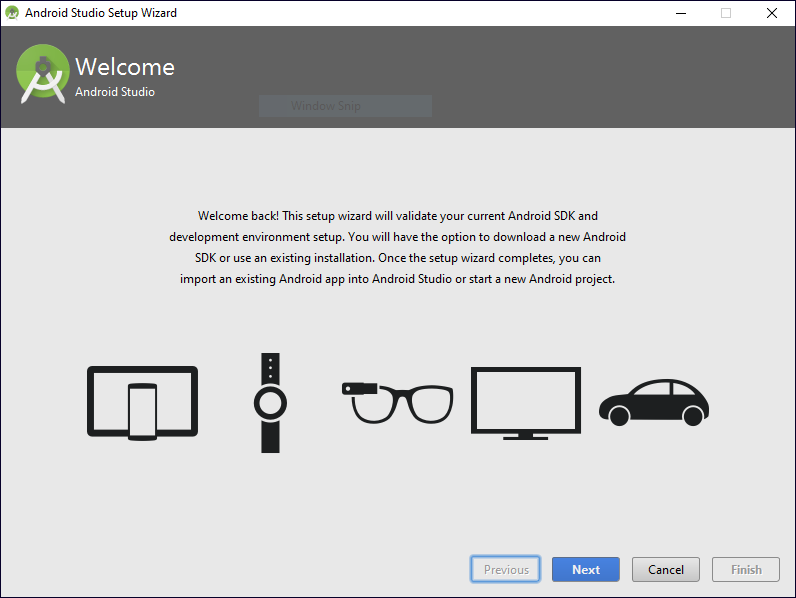
Google has launched a new IDE based on IntelliJ IDEA, called Android Studio. If your are used to develop Android application with Eclipse, you will appreciate the new coding experience of this IDE and you should be aware that Android Studio is now the official IDE for Android, so you should migrate to Android Studio to receive all the latest IDE updates. You can build apps for Android phones, tablets, Android Wear and Auto, TVs and Google Glass. The Virtual Device Manager provides pre-defined device profiles for common Android devices.
Install Android Studio
- Go to the download page, accept terms and conditions to get the executable. If you are interested in other platforms refer to this page.
The installation requires the Java Development Kit (JDK), if you haven’t got any, download the following compatible JDK. Accept the licence (read it first), download and install the 32 or 64 bit version.
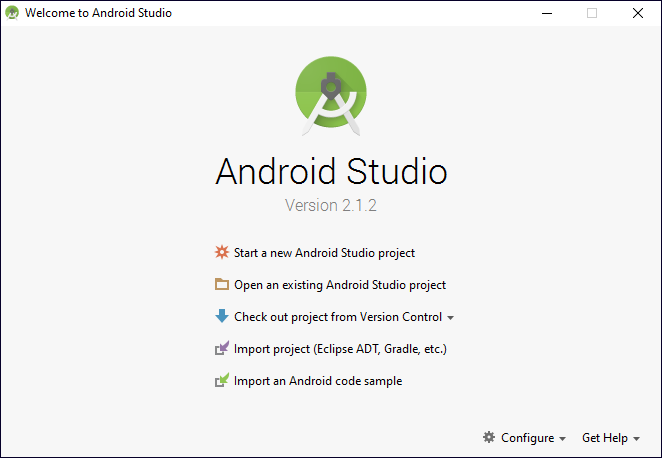
- Follow the installation steps and Start Android Studio.
Once finished you will need to install a few components. When you first open the IDE, Android Studio might inform you about some missing platforms in the Messages Gradle Sync.

Just install the required target by clicking the link.
If you need to install other SDK Platform API versions, go to Tools->Android->SDK Manager and select the required component and install the desired packages.
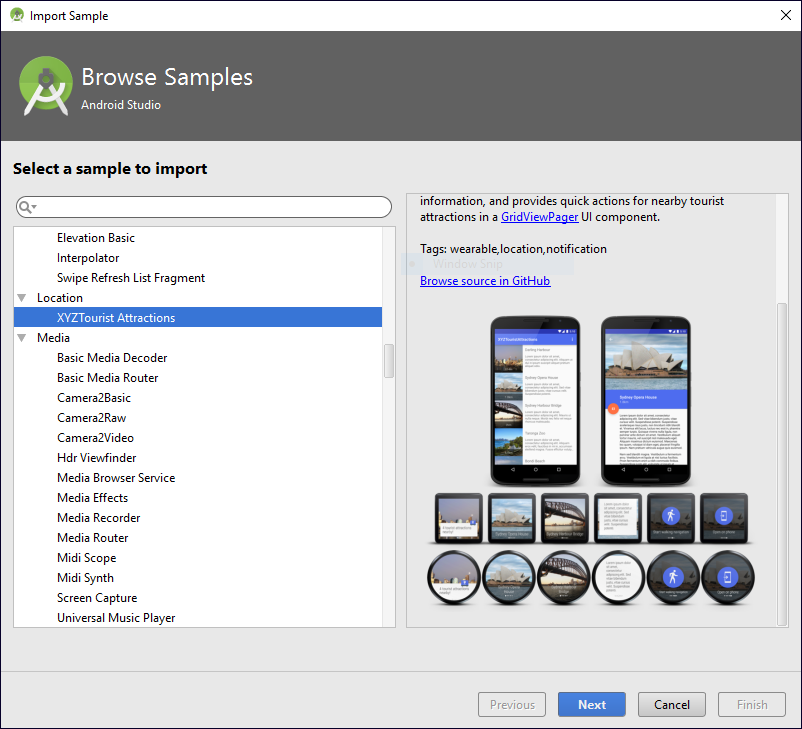
- In the welcome window, click on ‘Import and Android code sample’ and select the project you want from the submenu.
The sample will be loaded. There are several categories you can choose from.
If your prefer another IDE you can download the stand-alone Android SDK Tools which provides the basic SDK tools for app development.
Getting code samples and clone Git repositories
In order to clone a git repository you need to follow these steps:
- Join Github, create an account from this page
- Install GitHub for Windows.
- Connect the application to you account
- Then you should add git.exe location to your “Path Variable”. Or Alternatively if you don’t want to add to environment variables. Open Android Studio and go to : Settings -> Version Control -> Git In text box next to “Path to Git Executable” you will see “git.exe” , just give it a full path like so : C:\Users\Your_Username\AppData\Local\GitHub\PortableGit_c
If you can’t find the executable path, you can download Git from this link and install it. Then, from “Path to Git Executable” in Android studio go to ‘C:\Program Files (x86)\Git\bin\git.exe’ and test if everything works with the Test button. You should now get the message “Git executed successfully”.
You can now clone a repository. Assuming that the url of the repository to clone is https://github.com/gepp88/Android.git, open Android Studio, go to VCS-> Checkout from Version Control -> Git.
If you want to add one of your own repositories, select VCS-> Checkout from Version Control -> GitHub. Insert your credentials and choose a security password.
To commit changes press Ctrl+K or ‘VCS -> Commit Changes’ and push the new version to the remote origin by pressing Ctrl+Shift+K or ‘VCS -> Git -> Push’